
AT A GLANCE
Learning how to clean shower grout effectively requires using a mild alkaline paste or oxygen bleach, allowing 10 to 15 minutes of dwell time, and scrubbing gently with a stiff nylon brush rather than wire bristles.
- Natural Cleaning: A paste of baking soda and hydrogen peroxide breaks down grease and organic film in under 15 minutes.
- Mold Removal: Oxygenated bleach or 3% hydrogen peroxide kills deep fungal roots without stripping tile sealant.
- Maintenance Interval: Deep clean grout every 3 to 6 months and apply a penetrating sealer annually.
Tile material dictates product choice, as acidic mixtures like vinegar can etch delicate marble, limestone, and natural stone surfaces over time.
Essential Supplies and Prep Work
Preparing tile lines before applying liquid cleaners ensures solutions penetrate deep into porous cement matrix rather than sliding off surface grime. Rinse the entire shower wall with warm water to flush away loose surface soap scum and body oils.
Gather proper cleaning tools to avoid scratching polished porcelain or weakening cement lines during treatment. Having safety equipment ready keeps harsh vapors and splatters away from your eyes and skin.
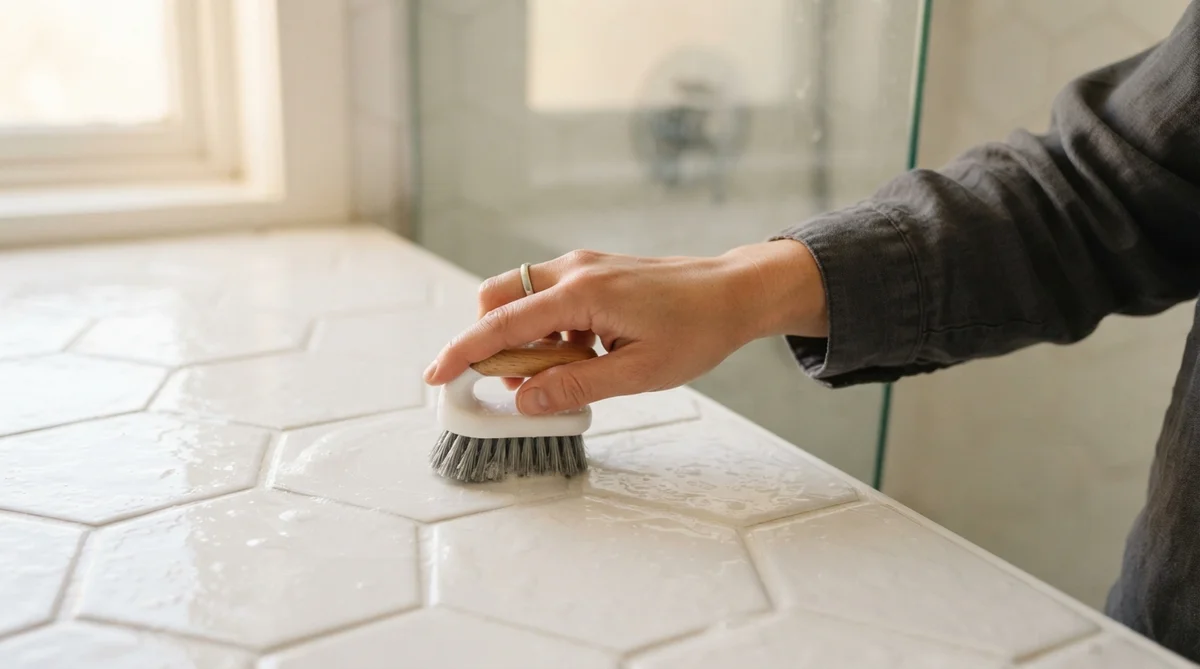
- Stiff nylon brush: Choose narrow, targeted bristles designed specifically for grout lines instead of wire brushes.
- Protective gear: Wear rubber gloves and eye protection to safeguard against chemical splatters.
- Absorbent microfibre towels: Keep clean cloths nearby to wipe away loosened grime and excess moisture immediately.
- Micro-sprayer bottle: Use an adjustable spray bottle for even liquid application across vertical surfaces.
Rinse surrounding fixtures thoroughly before scrubbing. If you are working in compact home layouts, maintaining clear surfaces helps keep maintenance simple, similar to strategies used when working on making a small apartment feel bigger at home.
How to Clean Shower Grout: Effective Deep Cleaning Methods
Porous tile joints collect mineral scale, body fats, and fungal spores daily. Choosing the best way to clean tile grout depends on the severity of staining and the chemical resilience of your tile surface.
1. Natural DIY Method: Baking Soda and Vinegar Paste
Mild household compounds offer powerful grout cleaning natural remedies without releasing toxic fumes into enclosed shower stalls. Baking soda acts as a gentle abrasive, while diluted vinegar dissolves hard water deposits on standard ceramic tiles.
According to household safety guides from Consumer Reports verified as of 2026, combining baking soda with water or hydrogen peroxide creates a thick paste that clings to vertical walls for optimal contact time.
- Combine 3 parts baking soda with 1 part water to create a spreadable paste.
- Spread the mixture along grout lines using a soft spatula or old toothbrush.
- Spray gently with a 50/50 water and white vinegar solution to trigger a lifting foaming action.
- Let the mixture sit for 10 minutes before scrubbing with a nylon brush and rinsing with hot water.
Avoid using vinegar or acidic sprays on natural stone tile like marble or granite, as acids can etch sealant layers permanently.
2. Oxygen Bleach or Hydrogen Peroxide for Mold and Mildew
High humidity causes stubborn fungal growths that ruin white grout lines. Removing bathroom mold from grout requires oxygenated cleaners that penetrate beneath porous surfaces to destroy spores entirely.
Standard liquid chlorine bleach displaces color without killing fungal root structures in porous cement. Oxygen bleach powder dissolved in warm water releases active oxygen ions that break organic bonds safely.
- Mix 2 tablespoons of oxygen bleach powder into 2 cups of warm water until fully dissolved.
- Apply the fluid generously across stained seams using a spray bottle or sponge.
- Allow 15 minutes of dwell time so the active oxygen breaks down dark mildew deposits.
- Scrub firmly along joint lines and wipe clean using fresh water and a microfibre cloth.
For quick spot treatments, applying direct 3% hydrogen peroxide breaks down fresh black mildew spots without liquid runoff.
3. Commercial Grout Cleaners for Stubborn Stains
Heavy mineral crusts and deeply ingrained dye stains from shampoos often demand formulated commercial cleaners. Specialty tile products contain chelating agents and targeted surfactants that lift heavy grime within minutes.
Always inspect product labels to ensure compatibility with synthetic or cement grout mixtures. Operating in properly ventilated areas prevents dizziness during heavy application sessions.
- Apply commercial gel formula directly along horizontal and vertical joint lines.
- Wait 5 to 7 minutes according to manufacturer guidelines verified for 2026.
- Scrub with light pressure using a dedicated grout brush.
- Rinse thoroughly with warm water, ensuring no active residue remains on tile surfaces.
Pairing regular routine cleaning with smart home management routines, such as simple ways for keeping your home tidy, minimizes maintenance stress across all wet zones.
4. Steam Cleaning for Chemical-Free Deep Cleaning
High-temperature steam cleaners sanitize grout lines using pressurized vapor heated above 200 degrees Fahrenheit. Steam expands trapped moisture inside cement pores, lifting embedded grease without harsh liquid chemicals.
Steam tools work best on structural grout lines that remain intact and fully sealed. If grout shows cracks or crumbling edges, intense steam pressure can dislodge loose cement pieces.
- Fill the steamer reservoir with distilled water to prevent internal mineral buildup.
- Attach a small brush head accessory designed for narrow tile channels.
- Direct continuous steam along grout joints at a steady rate of 2 inches per second.
- Wipe away dislodged sludge instantly using a dry towel before it re-hardens.
Special Considerations: Standard Tile Grout vs. Silicone Caulk
Differentiating between cementitious tile grout and flexible silicone caulk prevents structural bathroom damage during cleaning. Standard tile grout fills static joints between individual tiles, whereas flexible caulk seals changing corners along tub rims and floor bases.
Applying abrasive brushes to silicone caulk can tear its protective membrane, allowing water to leak behind wall tiles. The table below compares essential maintenance requirements for both materials as of 2026.
| Feature | Cementitious Tile Grout | Silicone Bathroom Caulk |
|---|---|---|
| Primary Material | Porous cement mix | Flexible synthetic polymer |
| Best Cleaning Agent | Oxygen bleach or baking soda | Hydrogen peroxide or mild soap |
| Scrubbing Tool | Stiff nylon grout brush | Soft microfibre cloth or sponge |
| Sealing Requirement | Requires annual sealing | Never seal; replace when torn |
| Primary Vulnerability | Porosity and staining | Peeling and edge lifting |
How to Prevent Shower Grout Stains and Mildew
Maintaining clear grout lines long-term requires controlling ambient humidity and locking out moisture penetration. Environmental guidelines from the Centers for Disease Control and Prevention (CDC) updated for 2026 confirm that keeping indoor humidity below 50 percent prevents mold colonization on indoor surfaces.
Integrating simple habits into daily bathroom usage keeps tile borders looking fresh between deep cleanings. Running exhaust ventilation systems continuously helps conserve household energy while protecting building structures, much like practices for cutting your energy bills efficiently.
- Squeegee shower tile walls and glass after every use to eliminate standing water drops.
- Run the bathroom exhaust fan for 20 minutes after bathing to purge excess air moisture.
- Apply a high-quality penetrating grout sealer every 12 to 18 months to block porous absorption.
- Spray tile surfaces weekly with a daily shower cleaner spray to prevent soap scum buildup.