WHAT YOU NEED TO KNOW
Backing up your mobile device regularly prevents permanent data loss, and the absolute easiest way to do it is by enabling automated cloud backups. If you need to learn how to back up your phone, setting up a secure schedule ensures you never lose precious family photos, critical contacts, or sensitive work documents.
- Apple provides only 5 GB of free iCloud storage, which rarely covers a full modern device backup.
- Google offers 15 GB of free cloud storage shared across Gmail, Google Drive, and Google Photos.
- A manual cloud backup typically completes in less than 15 minutes over a stable Wi-Fi connection.
- Computer backups via macOS Finder or Windows iTunes serve as a completely free local alternative to paid cloud subscriptions.
Your restoration success depends on remembering your device passcode, as local backups and cloud security configurations rely heavily on this credential set.
Quick Links: Choose Your Phone Type
Depending on your current operating system, you can skip directly to the specific instructions required for your device. Use these links to navigate to your configuration steps:
Why You Need to Back Up Your Phone
Hardware failures, software corruption, and physical theft can happen at any moment. Losing your phone means losing years of personal memories and essential daily data if you do not have a recent backup copy. According to a study by the Pew Research Center, a significant portion of smartphone users experience data loss due to device misplacement or hardware damage.
Keeping a secure backup ensures smooth transitions when upgrading to a new model. Having your data safely stored in the cloud or on a local computer makes setting up your new device a seamless experience that takes less than an hour.
- Protection against hardware loss: If your phone is dropped in water or stolen, your data remains completely safe in the cloud.
- Seamless device transitions: Moving to a new smartphone is as simple as logging into your account and restoring the latest image.
- Accidental deletion recovery: Easily retrieve a contact or a photo that you accidentally deleted yesterday.
How to Back Up Your Phone If You Use an iPhone
Apple makes it simple to preserve your data through built-in system tools. iPhone users have two primary pathways to keep their settings and media safe: cloud storage via iCloud or local physical storage on a personal computer.
Back Up iPhone Using iCloud
According to Apple Support documentation verified in 2026, iCloud backups contain device settings, Home Screen organization, and app data that do not sync automatically elsewhere. The cloud backup runs quietly in the background when your phone is locked, charging, and connected to Wi-Fi. You can easily toggle this setting within your device configurations.
To configure your automated iCloud backup, complete the following steps:
- Open the Settings app on your iPhone.
- Tap your name at the very top of the screen to access your account profile.
- Select iCloud, then scroll down and tap on iCloud Backup.
- Switch the toggle to enable Back Up This iPhone.
- Tap Back Up Now to execute your first manual backup immediately.
View and Manage Your iCloud Storage
If you run low on space, you can review what your iPhone saves to the cloud to keep storage costs low. If you need to stay on top of your subscription expenses, you can build a simple monthly budget to manage cloud storage costs alongside other bills. Reducing backup sizes prevents you from paying for unnecessary cloud space.
To view your storage levels, open the Settings app and tap your name. Tap iCloud to see a visual breakdown of your storage consumption.
- Tap iCloud Backup and select This iPhone to view individual app data sizes.
- Toggle off any non-essential apps that you do not want to include in future backups.
- Delete old backups from devices you no longer own to free up space instantly.
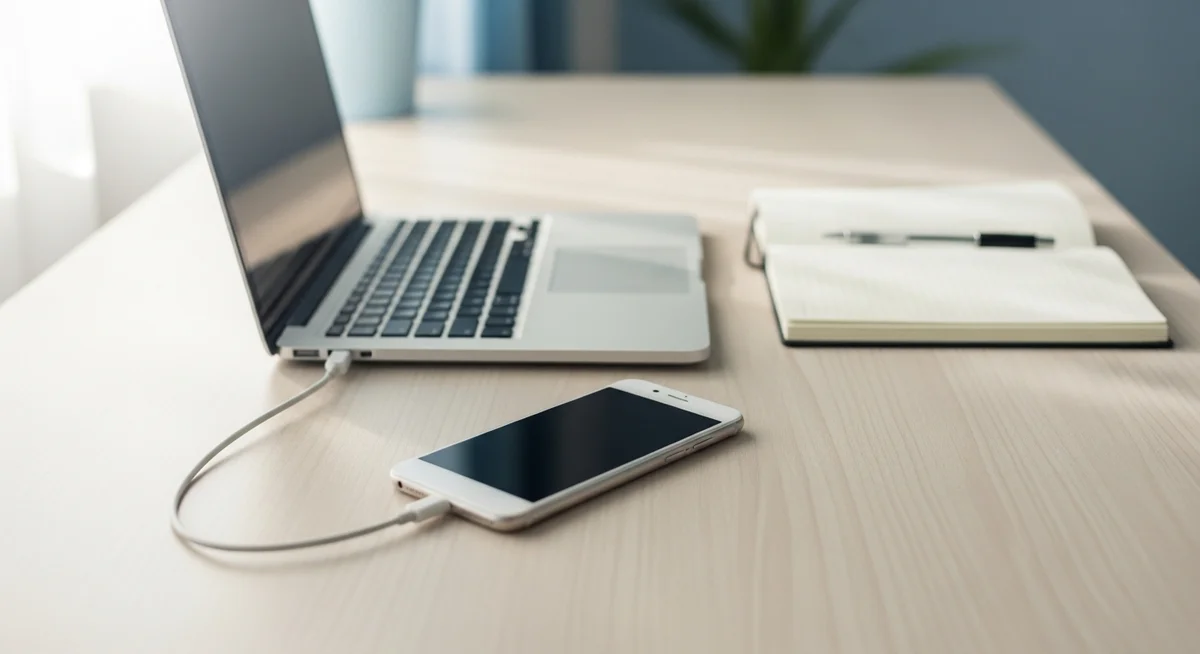
Back Up iPhone Using Your Mac
If you prefer not to pay for iCloud, local backups on a Mac are a great free alternative. According to Apple Support guidelines verified in 2026, macOS 10.15 or later uses the native Finder application for device synchronization. Older operating systems still rely on the legacy iTunes software to perform this task.
Follow these steps to complete a local Mac backup:
- Connect your iPhone to your Mac using an approved USB cable.
- Open Finder and select your iPhone from the left-hand sidebar.
- Click on the General tab at the top of the Finder window.
- Select the option labeled Back up all of the data on your iPhone to this Mac.
- Check the box for Encrypt local backup to protect your passwords and health data, then click Back Up Now.
Back Up iPhone Using Your Windows Device
Windows users can back up their iPhones directly using the iTunes application. Ensure you are running the latest version of iTunes before connecting your phone to avoid software errors. This provides a secure, physical backup on your local hard drive.
- Connect your iPhone to your Windows PC using your USB cable.
- Open the iTunes application and click the small phone icon near the top-left corner.
- Navigate to the Summary tab on the left menu.
- Select This Computer under the Backups section.
- Check Encrypt local backup to protect sensitive accounts, select a strong password, and click Back Up Now.
How to Back Up an Android Phone
Android devices sync seamlessly with your Google Account to protect settings, call logs, and contacts. According to official Google Android Help guidelines verified in 2026, your data is securely encrypted in transit and stored safely in their data centers. You can manage this process entirely through your phone settings menu.
Automatically Back Up Android to Google Drive
Google One manages automated backups for all modern Android devices. Google provides 15 GB of free storage, but this is shared across Photos, Gmail, and Google Drive files. Setting up automation ensures your backup stays current without manual intervention.
To turn on automatic Android backups, follow these instructions:
- Open the Settings app on your Android phone.
- Scroll down and select Google or Google Services, then tap All services.
- Select Backup or Backup and restore.
- Toggle on the option labeled Backup by Google One.
Manually Back Up Android Data & Settings
If you are planning a factory reset, a manual sync ensures you do not lose any work. According to Google Android Help, manual syncs can take up to 24 hours to fully register on external servers during the initial run, so keep your phone connected to Wi-Fi. Ensure your battery is charged above 50 percent before starting.
- Navigate to your device Settings.
- Tap Google, choose All services, and select Backup.
- Tap the blue Back up now button to initiate the immediate upload.
- Keep your phone connected to power and Wi-Fi until the progress bar completes.
Manage Google Drive Storage
Since your free Google Account shares storage across multiple applications, your 15 GB limit can fill up quickly. If you are staying productive when working from home, keeping your digital workspace clutter-free is a necessity. You can delete massive email attachments and large shared files to free up space for phone backups.
- Open the Google One app or visit your Google Drive storage page.
- Review which files, photos, or emails are consuming the most space.
- Disable Google Photos backup for non-essential folders like screenshots or downloaded memes.
Back Up a Samsung Phone
Samsung devices offer a secondary layer of protection through Samsung Cloud and the Smart Switch utility. This allows you to restore your home screen layout, Samsung Notes, and customized themes perfectly. It acts as an excellent double-coverage backup alongside your Google backup.
- Open Settings, then tap your account profile name at the top.
- Tap Samsung Cloud to back up contacts, calendar events, and notes.
- Open Accounts and backup from the main settings menu to run a comprehensive system sync.
- Use Samsung Smart Switch to copy your entire phone directly to an external USB drive or SD card.
Back Up Android to a Computer (Windows, Mac, or Chromebook)
If you prefer a physical copy of your photos and documents, a direct computer transfer is highly effective. Windows and Chromebook devices recognize Android phones instantly as media storage drives, while Mac users require a free helper program. This process is completely free and requires no internet access.
- Connect your Android phone to your computer with a compatible USB cable.
- Swipe down on your phone screen, tap the USB notification, and select File Transfer or MTP.
- On Windows or Chromebook, open the file explorer, click on your phone name, and copy your directories.
- On a Mac, download and open the official Android File Transfer utility to drag and drop your folders.
Crucial App and Security Data to Back Up Separately
Standard operating system backups often exclude high-security credentials and financial applications. If you do not configure these separately, you risk being locked out of your financial accounts and work portals. Take a few extra minutes to secure these individual security keys.
Two-Factor Authentication (2FA) Codes and Passkeys
Security apps like Google Authenticator and Microsoft Authenticator do not automatically sync unless cloud sync is manually enabled. If you lose your phone without backing up these keys, regaining account access can take weeks. Ensure your 2FA accounts are tied to a recovery email or written emergency key.
- Open your Authenticator app and tap your profile or settings.
- Turn on Cloud Sync to link your 2FA codes directly to your primary Apple or Google account.
- Print or export your offline 2FA recovery codes and store them in a secure physical location.
Chat History and In-App Media
Chat applications like WhatsApp utilize end-to-end encryption and manage their backups independently from your operating system. If you do not configure these settings inside the app, your conversations will be permanently lost when changing phones. This is especially vital for business and personal records.
- Open WhatsApp and navigate to Settings, then tap Chats.
- Select Chat Backup and tap Back Up Now to sync your history.
- Enable automated daily or weekly backups and choose whether to include large video files.
Common Backup Problems and How to Fix Them
Even with automated settings, phone backups can occasionally fail due to network, storage, or software conflicts. The table below outlines the most frequent issues users encounter and the direct steps to resolve them quickly.
| Common Issue | Primary Cause | Quick Solution | Time Required |
|---|---|---|---|
| Out of Storage | Cloud account storage limit reached | Delete large videos or upgrade storage tier | 5 minutes |
| Backup Stuck | Unstable Wi-Fi connection | Restart your router or use a different network | 10 minutes |
| Greyed Out Button | Low battery or battery saver mode active | Connect to power and disable battery saver | 2 minutes |
| Passcode Errors | Corrupted local encryption keys | Reset network settings or update device software | 15 minutes |
Not Enough Cloud Storage
This is the single most common reason backups fail for both Android and iPhone users. If you do not want to pay for premium cloud storage tiers, you must manage your files aggressively to stay under the free limits. This ensures your most critical data is prioritized.
- Disable backup permissions for heavy media folders such as screen recordings or downloaded movies.
- Offload your media files to a personal computer or an external hard drive twice a year.
- Purge your email trash bins and delete old backup versions from previous devices.
Backup Failed or Stuck
If your progress bar freezes mid-upload, a minor software glitch or network drop is usually responsible. Most of these issues can be solved with a quick device refresh. Trying another internet connection is often the fastest remedy.
- Restart your smartphone to clear temporary cache files that might be blocking the process.
- Disable your cellular data temporarily to force the device to use a strong Wi-Fi signal.
- Check for pending operating system updates, as outdated system files can disrupt background syncs.
Frequently Asked Questions
What is included in a phone backup?
A standard phone backup preserves your system layout, essential app data, and device configurations. This allows you to transition to a new device without setting everything up from scratch. However, some heavy media files and secure codes require manual intervention.
- Contacts and Calendars: Complete address books and scheduled events sync automatically.
- App Settings: App layouts, system settings, Wi-Fi networks, and wallpaper preferences are saved.
- SMS and Call Logs: Your text histories and call records are completely restored.
How often should I back up my phone?
Ideally, you should enable daily automated backups so you never lose more than 24 hours of new data. If you prefer manual backups, aim to complete one at least once a week or immediately after taking important photos or receiving crucial work files. Setting a weekly calendar reminder is an easy way to build this habit.
How do I get my backup data onto a new phone?
Restoring your data is straightforward when setting up a brand-new device. You will be prompted to log into your cloud account during the initial boot sequence. The system will handle the rest automatically.
- Turn on your new phone and follow the on-screen setup prompts.
- Connect to a fast Wi-Fi network and choose the option to restore from a backup.
- Log in with your Apple Account or Google Account credentials.
- Select the most recent backup file from the list and wait for the transfer to finish.